
Build Astro forms powered by Basin
In this guide, we'll show you how to quickly add a contact form to your Astro project and connect it to Basin.
Basin is a no code form backend that pairs nicely with static site generators, jamstack tools, and web development frameworks like Astro.
Astro is an all-in-one web framework for building fast, content-focused websites. It is designed to be lightweight, quick, and easy to use, making it a popular choice for building modern and efficient APIs.
By following this guide, you'll have a working contact form on your Astro website or app that sends you email notifications when people submit.
Requirements
You'll need a Basin account, which you can create for free here, and a web project built with Astro. If you don't already have an existing Astro project, we'll go through the process of creating a sample project and contact form in the steps that follow.
If you’re not familiar with Astro or how it works, be sure to check out the official documentation to learn more before getting started.
Step 1 — Create a new Astro project
You can get a new Astro project up and running locally with the helpful create astro CLI wizard. In your terminal, run the follow command:
npm create astro@latestThe CLI will walk you through every step of setting up your new Astro project. Once everything has been setup and installed successfully, you should see a "Liftoff confirmed. Explore your project!" message followed by some recommended next steps.
Go to the new directory for the new project:
cd your-folder-nameStart the web server locally:
npm run devNavigate to http://localhost:3000 in your browser and you should now see the sample site with the following screen:
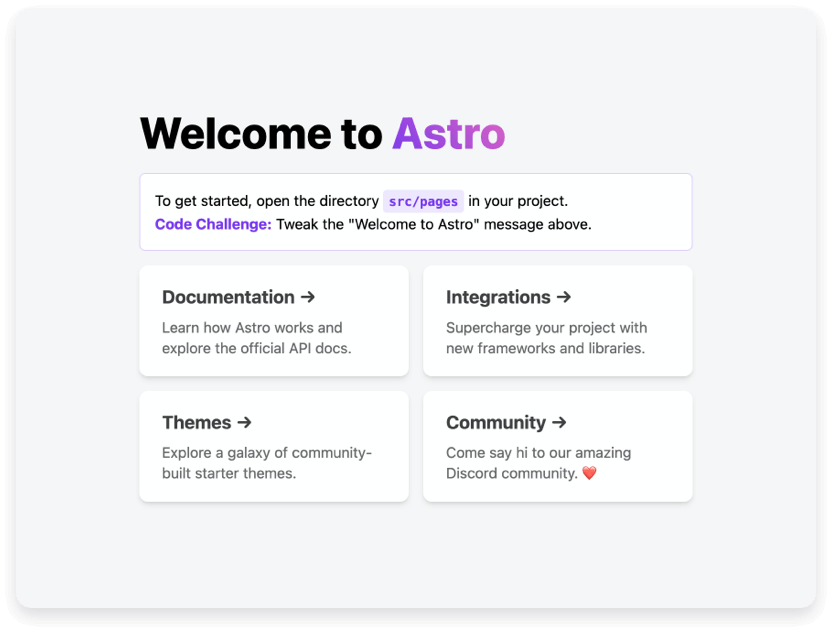
Blast off 🚀 You just created an Astro app in a matter of steps. Next, we'll look at how to add a contact form to the project.
Step 2 — Create a form endpoint in Basin
After logging in to your Basin account, you can create a new form endpoint from the Forms index page. Simply fill out the fields and click “Create Form”. You'll use this same process for every form endpoint you create.
After your new form endpoing is created, it will appear in the My Forms list. Select it to view the Submissions page, where you can see the inbox, check form performance analytics, and access additional features like integrations, mailer settings, etc.
You'll also notice a form endpoint URL located on the right side of the screen under the sub-navigation. Copy this URL, as you will use it in the next step to connect Basin to the new contact form in your Astro project.
Step 3 — Create and connect your Astro form
Now that you have created a new form endpoint in Basin, you can wire it up to be used with any contact form in your Astro project. Note, that Astro is UI-agnostic and provides you with the opportunity to use frameworks like React, Svelte, Vue, and more via integrations. For the purposes of this tutorial, we'll just use the default template.
Create a new file called contact.astro in the src/pages directory and add the following code to the file:
<layout title="Astro Contact Form">
  <main>
  <h1>Astro Contact Form</h1>
    <form action=“https://usebasin.com/f/<YOUR_FORM_ID>” method=“POST”>
      <div>
        <label htmlFor=“name”>Name: </label>
        <input type=“text” name=“name” id=“name” required />
      </div>
      <div>
        <label htmlFor=“email”>Email: </label>
        <input type=“email” name=“email” id=“email” required />
      </div>
      <div>
        <label htmlFor=“message”>Leave a Message </label>
        <textarea id=“message” name=“message” rows=“5" cols=“33” />
      </div>
      <div>
        <button type=“submit”>Submit</button>
      </div>
    </form>
  </main>
</layout>
Note the use of the [name] attribute on the input elements. When creating a new form, this attribute is required on each input. This allows for the proper association between the name and input value when the form data is submitted to Basin.
Within your new form code block, paste the Basin form endpoint URL into your form’s [action] attribute. In order for your form to submit to Basin, the new action URL needs to match the URL of the endpoint you created in the previous step.
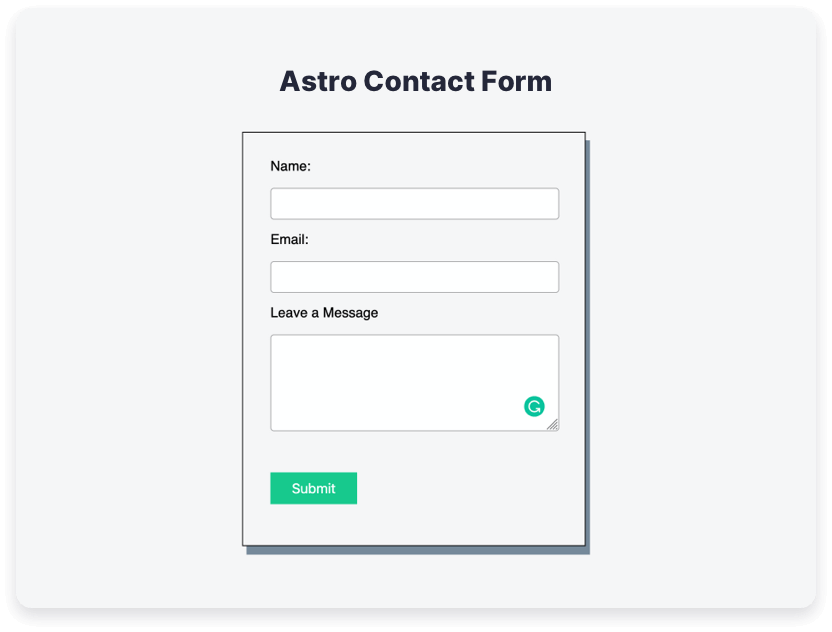
Astro leverages a routing strategy called file-based routing where each file in your src/pages/ directory becomes an endpoint on your site based on its file path. This means you can navigate to http://localhost:3000/contact to see the contact page and form you just created.
Optionally, add whatever CSS styling you prefer to further customize your Astro form.
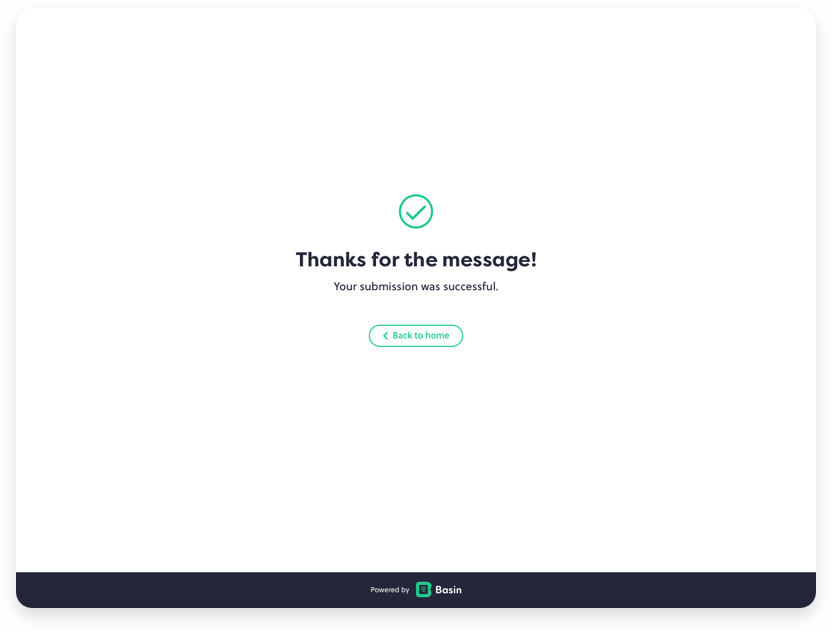
And that's it! Now after filling out and submitting the form you should see Basin's default submission success page displayed.
In addition, after submitting you should see a new message in the forms inbox when viewing your form's Submissions tab in Basin.
Congrats! Basin is now powering the contact form on your Astro site!
Bonus — Google Sheets Integration
Google Sheets is a powerful spreadsheet tool that can be used with many different services and applications. Basin integrates seamlessly with Google Sheets to allow you to add new form submissions to spreadsheets without ever having to open them.
Here are some benefits you gain by integrating your Basin forms with Google Sheets:
- Easy analysis - Quick comprehension of submission data through the creation of charts, graphs and other visualizations.
- Guaranteed accuracy - Elimination of manual data entry errors through automatic collection and storage of submission data.
- Secure sharing - Provide team access to form submission data without worry or threat of security issues.
Check out our Plans and Pricing for a full breakdown of features to see how Basin can add value to your workflow and grow with your needs.
Conclusion
In this guide, you learned how to setup a new Astro project and quickly connect a contact form to Basin for submission processing and notifications. To learn how Basin works with other jamstack frameworks, static site generators, and CMS platforms, check out our other step-by-step installation guides.
Thanks for reading, and happy form building!
Have questions or need help with something specific? Read the docs or get in touch.