Build React Forms Powered by Basin
In this guide, we'll show you how to quickly add a contact form to your React project and connect it to Basin.
Basin is a no code form backend that pairs nicely with static site generators, jamstack tools, and frontend libraries like React.
React is a popular is a popular JavaScript library for building user interfaces. It's open-sourced and provides a flexible, declarative, and component-based architecture that makes creating user interfaces simple and intuitive.
By following this guide, you'll have a working contact form on your React app that sends you email notifications when people submit.
Requirements
You'll need a Basin account, which you can create for free here, and a web project built with React. If you don't already have an existing React project, we'll go through the process of creating a sample project and contact form in the steps that follow.
If you’re not familiar with React or how it works, be sure to check out the official documentation to learn more before getting started.
Step 1 - Create a new React project
To get up and running quickly, let's use Create React App to bootstrap a single-page React application. In your terminal, run the following command to create a new project:
npx create-react-app my-appOnce everything is installed you will see a terminal message with instructions for navigating to your site and running it locally.
Go to the new directory for the new website:
cd your-folder-nameStart the web server locally:
npm startNavigate to http://localhost:3000 in your browser and you should now see the sample site with the following screen:
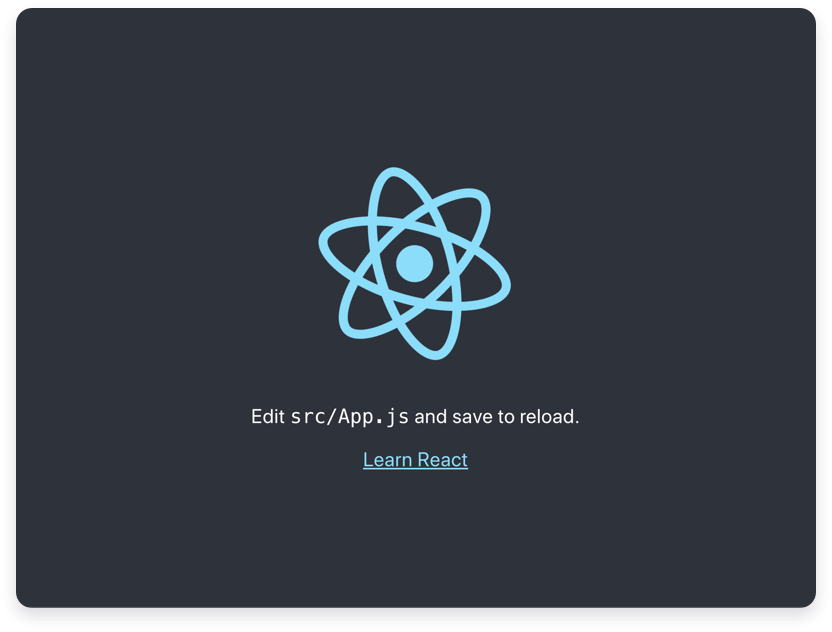
Well done! In just a few short steps, you now have a running React app. Next, we'll look at how to add a contact form to the page.
Create Better React Forms with Basin
By default, a React app built with tools like Create React App does not have any built-in way to handle forms. One could go down the "roll your own" path of running your own server that listens for POST calls, however, working with forms is deceptively complicated. Developers need to ensure that the data submitted is properly sanitized when entering the server, handle the data when it has been submitted, and finally respond back to the user indicating the successful submission. And that's just the happy path case for a basic form. Phew! That's a lot of work!
The good news is a form backend service like Basin can make this process exponentially simpler — saving you time and sanity. Here's how:
- Minimal to no maintenance: Basin takes the complexity out of form building. Instead of adding a bunch of logic to handle submission data, you simply set up the form to your liking, pass the form endpoint as the value for the
actionfield and, Basin handles the rest. No complicated logic is required. - Endless integration possibilities: Basin makes form data processing and management work more seamless by giving you the tools to send your form data to popular third-party services. We have built-in support for Zapier, Webhooks, and Slack integrations, and we’ll be adding support for more native integrations in the future.
- Enhanced security: Basin uses best-in-class cloud technology to ensure the safety and security of all collected form data. With automatic spam filtering and multiple layers of protection against bots, your inbox will stay squeaky clean.
These are just a few of the numerous perks and features that Basin provides. Check out our Plans and Pricing page to see how you can start using Basin for free and let it grow with your needs.
Now back to the guide...
Step 2 - Create a Form Endpoint in Basin
After logging in to your Basin account, you can create a new form endpoint from the Forms index page. Simply fill out the fields and click “Create Form”. You'll use this same process for every form endpoint you create.
After your new form endpoint is created, it will appear in the My Forms list. Select it to view the Submissions page, where you can see the inbox, check form performance analytics, and access additional features like integrations, mailer settings, etc.
You'll also notice a form endpoint URL located on the right side of the screen under the sub-navigation. Copy this URL, as you will use it in the next step to link Basin to the new contact form in your React app.
Step 3 - Create and Connect your React Form
Now that you have created a new form endpoint in Basin, you can wire it up to be used in a contact form.
Open up App.js within the src directory and replace everything in the file with the following code block:
import './App.css';

function App() {
  return (
    <main>
      <title>Contact Page</title>
      <h1>React Contact Form</h1>
      <form action=“https://usebasin.com/f/<YOUR_FORM_ID>” method=“POST”>
        <label htmlFor=“name”>Name </label>
        <input type=“text” name=“name” id=“name” required />

        <label htmlFor=“email”>Email </label>
        <input type=“email” name=“email” id=“email” required />

        <label htmlFor=“message”>Message </label>
        <textarea id=“message” name="message" rows="5" cols="33" />

        <button type=“submit”>Submit</button>
      </form>
    </main>
  );
};

export default App
Paste the form endpoint URL you copied from Basin into your form’s [action] attribute as shown in the code block above. In order for your form to submit to Basin, the <YOUR_FORM_ID> in your form code needs to match the ID of the endpoint you created in the previous step.
Now when you navigate back to http://localhost:3000 in your browser, you should see a form that looks something like this:
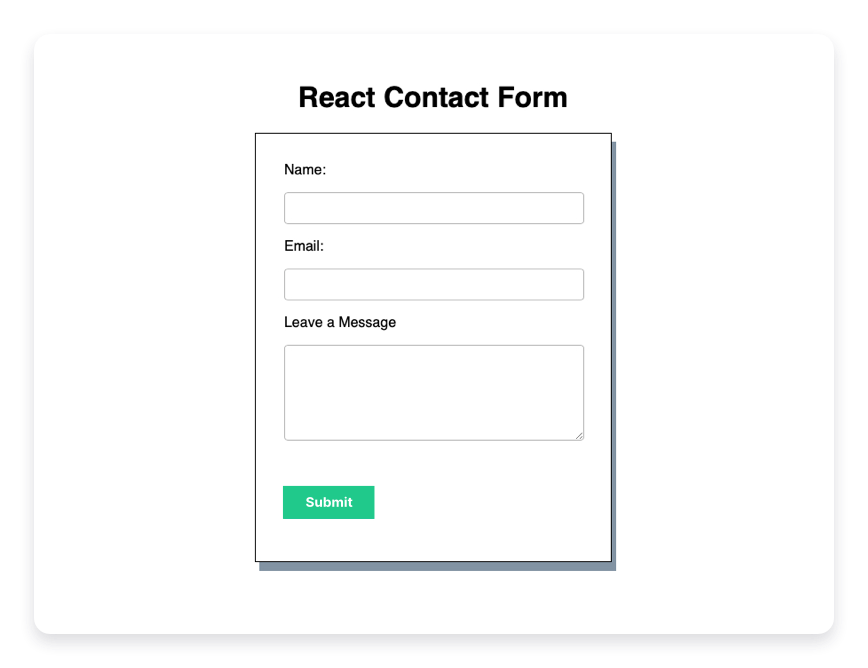
And that's it! Now after filling out and submitting the form you should see the default submission success page displayed.
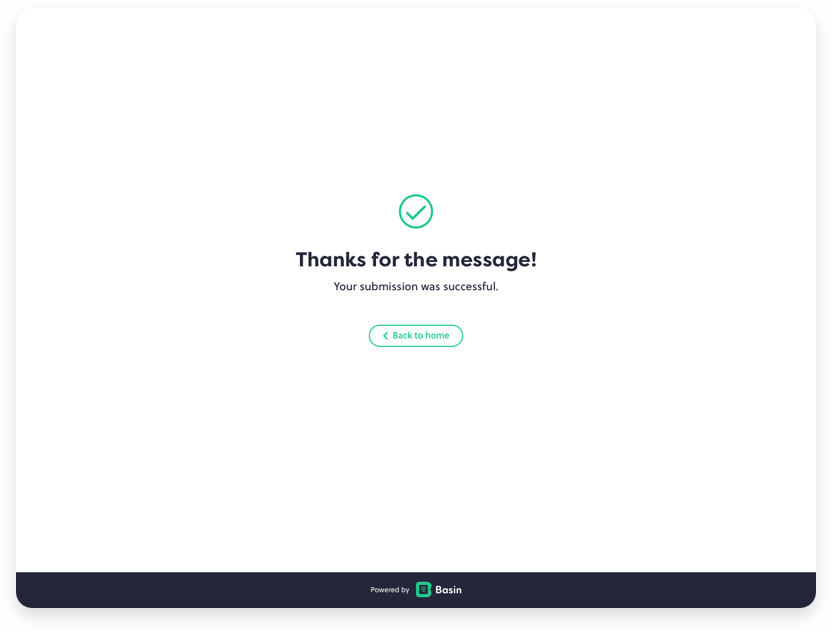
In addition, after submitting you should see a new message in the forms inbox when viewing your form's Submissions tab in Basin.
Congrats! Basin is now powering the contact form in your React app!
Bonus — Configuring Custom Webhooks
Webhooks are HTTP requests triggered by an event in one system and sent to another, usually with a payload of data. They provide a way for one application to "speak" (HTTP request) to another (the destination) when an event occurs (trigger) and share information (request payload) about the event that occurred.
Basin makes integrating custom webhooks a breeze by providing a seamless way to submit form data to custom endpoints with POST requests. All you have to do is enter the URL you want Basin to post form submission data to and select the desired payload format for Basin to post your form submission data in.
Once saved, Basin will automatically queue up a post to the configured webhook URL for all-new form submissions. A few popular custom webhooks include posting new form submissions to apps like Airtable and Google Sheets.
Conclusion
In this guide, you learned how quick and easy it is to get a Basin form backend up and running with React. To learn how Basin works with other jamstack frameworks, static site generators, and CMS platforms, check out our other step-by-step installation guides.
Thanks for reading, and happy form building!
Have questions or need help with something specific? Read the docs or get in touch.