Build Vue forms with NuxtJS
In this guide, we'll show you how to quickly add a contact form to your NuxtJS project and connect it to Basin.
Basin is a no code form backend that pairs nicely with static site generators, jamstack tools and frontend development frameworks like NuxtJS.
NuxtJS is a popular and open-sourced Vue framework. It provides an intuitive developer experience and comes pre-packaged with plenty of features to boost developer productivity and the end user experience.
By following this guide, you'll have a working contact form on your NuxtJS static website or app that sends you email notifications when people submit.
Requirements
You'll need a Basin account, which you can create for free here, and an existing web project built with NuxtJS. If you don't already have an existing project, we'll go through the process of creating a sample project and contact form in the steps that follow.
If you’re not familiar with NuxtJS or how it works, be sure to check out the official documentation to learn more before getting started.
Step 1 - Create a new NuxtJS project
Let's setup a project by following the installation setps from the NuxtJS documentation. In your terminal, run the follow command to create a new app:
npx create-nuxt-app <project-name>The CLI will ask you a series of questions (name, Nuxt options, UI framework, TypeScript, linter, testing framework, etc). Once all questions are answered, it will install all the dependencies.
The next step is to navigate to the project folder and launch it:
cd <project-name>Start the web server locally:
npm run devNavigate to http://localhost:3000 in your browser and you should now see the sample site with a screen that looks similar to the following:
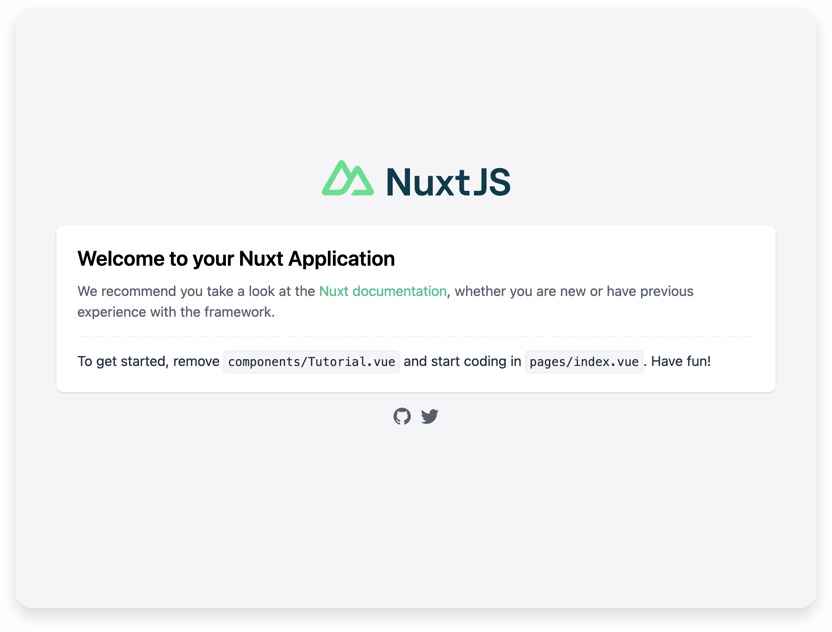
Well done! You just created a NuxtJS app in a matter of steps. Next, we'll look at how to add a contact form to the page.
Step 2 - Create a Form Endpoint in Basin
After logging in to your Basin account, you can create a new form endpoint from the Forms index page. Simply fill out the fields and click “Create Form”. You'll use this same process for every form endpoint you create.
After your new form endpoing is created, it will appear in the My Forms list. Select it to view the Submissions page, where you can see the inbox, check form performance analytics, and access additional features like integrations, mailer settings, etc.
You'll also notice a form endpoint URL located on the right side of the screen under the sub-navigation. Copy this URL, as you will use it in the next step to link Basin to the new contact form in your NuxtJS project.
Step 3 - Create and Connect your Vue Form
Now that you have created a new form endpoint in Basin, you can wire it up to be used in a contact form. Create a new filed calledcontact.vue in the /pages directory and add the following code block in the file:
<template>
  <body>
    <h1>Vue Contact Form</>
    <form action=“https://usebasin.com/f/<YOUR_FORM_ID>” method=“POST”>
      <div>
        <label for=“name”>Name </label>
        <input type=“text” name=“name” id=“name” required />
      </div>
      <div>
        <label for=“email”>Email </label>
        <input type=“email” name=“email” id=“email” required />
      </div>
      <div>
        <label for=“message”>Leave a Message </label>
        <textarea id=“message” name=“message” rows=“5” cols="33"></textarea>
      </div>
      <div>
        <button type="submit"></button>
      </div>
    </form>
  </body>
</template>
Paste the form endpoint URL you copied from Basin into your form’s [action] attribute as shown in the code block above. In order for your form to submit to Basin, the <YOUR_FORM_ID> in your form code needs to match the ID of the endpoint you created in the previous step.
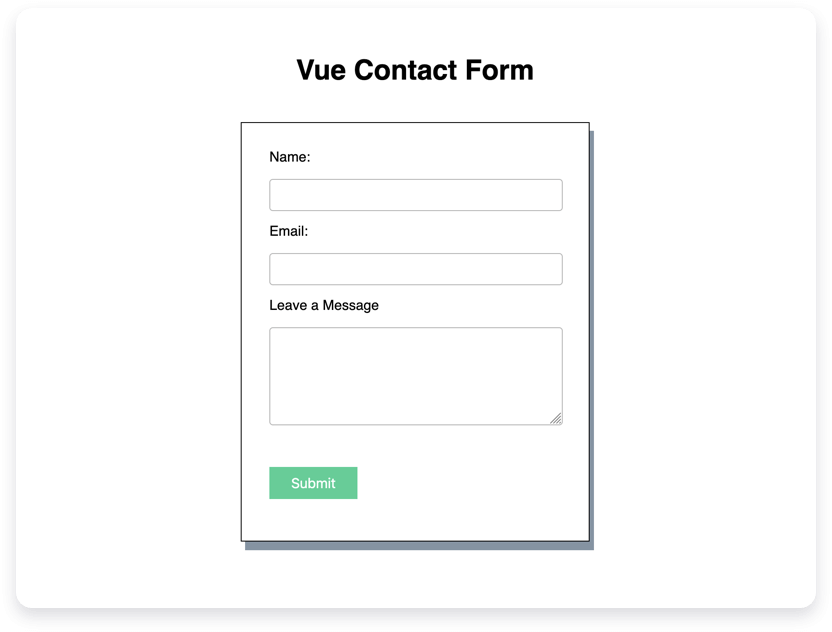
Optionally, you can add whatever custom CSS styling like to give your new Vue form some extra personality and flair.
NuxtJS comes pre-configured with routing capabilities so any .vue files added to the pages directory will automatically become a new page. This means that you can now navigate to http://localhost:3000/contact to view the form in the browser.
And that's it! Now after filling out and submitting the form you should see the default submission success page displayed.
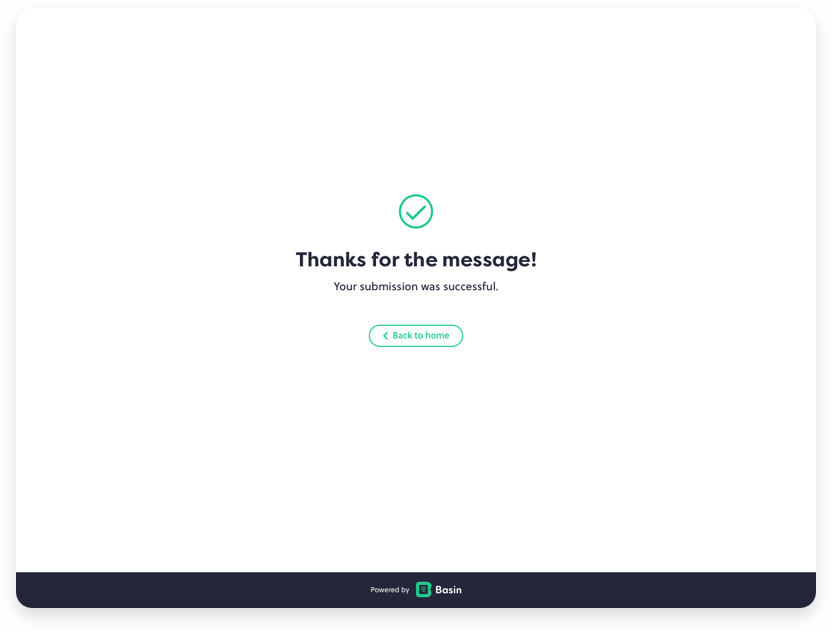
In addition, after submitting you should see a new message in the forms inbox when viewing your form's Submissions tab in Basin.
Congrats! Basin is now powering the contact form on your NuxtJS app!
Bonus — Additional Features
You've learned how to setup a basic form endpoint using Basin, and now you want to take it to the next level. Basin is jam packed with advanced features that allow you to customize the form experience even further.
Here are a few saving features you can setup with your Basin forms:
- Webhooks that repost submission data to other apps and third-party services.
- Spam filtering with Honeypot, Google reCaptcha, hCAPTCHA (Google reCAPTCHA alternative), and domain restrictions.
- Integrations with some of your favorite apps like Zapier, Webflow and Slack.
- File upload support for storing, exporting, and sharing files attached to submissions.
- Export your form submission data in accessible formats for easy import elsewhere.
Check out our Plans and Pricing for a full breakdown of features to see how Basin can add value to your workflow and grow with your needs.
Conclusion
In this guide, you learned how quick and easy it is to get a Basin form backend up and running with NuxtJS. To learn how Basin works with other jamstack frameworks, static site generators, and CMS platforms, check out our other step-by-step installation guides.
Thanks for reading, and happy form building!
Have questions or need help with something specific? Read the docs or get in touch.